How To Create A DIY Otter Costume: Step-by-Step Guide For All Ages
There’s nothing quite like the joy of crafting your own costume, and when it comes to adorable animal costumes, otters are an absolute winner. Whether you’re dressing up for Halloween, a themed party, or just for fun, creating a DIY otter costume can be an exciting project for people of all ages. With this guide, you’ll learn how to bring the charm of these playful marine creatures to life with easy-to-follow steps that anyone can master.
Before we dive into the nitty-gritty details, let’s talk about why otters make such great costume inspiration. Otters are known for their playful nature, sleek fur, and undeniable cuteness. They’re also versatile, meaning you can create a costume that works for kids, adults, or even pets! Plus, who doesn’t love the idea of waddling around as one of the ocean’s most beloved animals?
This guide isn’t just for craft enthusiasts; it’s for everyone who wants to unleash their creativity without breaking the bank. So, grab your scissors, fabric, and imagination because we’re about to get crafty!
- Why Pointing Memes Are Hilarious Amp Everywhere Explained
- Urgent The Soup Recall 2024 What You Must Know Now
Why DIY Otter Costumes Are Perfect for All Ages
Let’s face it—store-bought costumes can be expensive, and they often lack that personal touch. When you create your own otter costume, you have the freedom to customize it however you like. Plus, it’s a fantastic way to bond with family and friends while working on a fun project together.
For kids, making a DIY otter costume can be a great learning experience. It teaches them basic sewing skills, creativity, and patience. For adults, it’s a chance to express your inner otter and maybe even show off your crafting skills. And for pet owners? Well, who wouldn’t want to see their furry friend dressed up as a sea otter?
So, whether you’re a parent looking for a fun activity for the kids or an adult who just wants to channel their inner otter, this step-by-step guide has got you covered.
- Urgent What You Need To Know About The Ramen Noodles Recall Now
- Sarah Shahi Decoding Her Iconic Nude Scenes Career Impact
Materials You’ll Need for Your DIY Otter Costume
Before you start crafting, it’s essential to gather all the materials you’ll need. Having everything ready will make the process smoother and more enjoyable. Here’s a list of items you’ll need:
- Fleece fabric in brown and white (for the otter’s fur)
- Black felt (for the nose and paws)
- Sewing machine or needle and thread
- Scissors
- Pins
- Stuffing material (for the ears and paws)
- Velcro or elastic (for closures)
- Hot glue gun (optional)
Don’t worry if you’re not a pro at sewing. Many of these steps can be done by hand if you don’t have access to a sewing machine. Plus, fleece fabric is forgiving and doesn’t fray, making it perfect for beginners.
Step 1: Creating the Otter’s Body
The body of your otter costume is the foundation of the entire project. Start by cutting two pieces of brown fleece fabric in the shape of a long rectangle. The size will depend on the person or pet wearing the costume.
Once you’ve cut the fabric, pin the two pieces together and sew around the edges, leaving a small opening for turning the fabric right side out. After sewing, turn the fabric right side out and stuff it lightly with the stuffing material. Finally, sew up the opening to complete the body.
Tips for Sewing the Body
If you’re new to sewing, here are a few tips to make the process easier:
- Use a straight stitch for a clean finish.
- Leave a larger opening for turning if you’re working with thicker fabric.
- Don’t overstuff the body; you want it to be comfortable to wear.
Step 2: Adding the White Belly
No otter costume is complete without its signature white belly. Cut a piece of white fleece fabric in the shape of a teardrop and sew it onto the front of the brown body piece. This will give your otter that adorable two-tone look.
Make sure to sew the white belly securely so it doesn’t come loose during wear. You can also add some small details, like stitching lines to mimic the texture of an otter’s fur.
Step 3: Making the Otter’s Head
The head is arguably the most important part of the costume. Start by cutting two pieces of brown fleece fabric in the shape of an otter’s head. Sew them together, leaving a small opening for stuffing. Once stuffed, sew up the opening and attach the head to the body using velcro or elastic for a secure fit.
Adding Details to the Head
To make your otter head more lifelike, add a black felt nose and small white felt circles for the eyes. You can also sew on some small ears made from brown fleece fabric. If you’re feeling extra creative, try adding some whiskers using thin black yarn or thread.
Step 4: Creating the Otter’s Paws
Who doesn’t love otter paws? They’re so cute and playful! To make the paws, cut four pieces of brown fleece fabric in the shape of an otter’s paw. Sew them together, leaving an opening for stuffing. Once stuffed, sew up the opening and attach the paws to the costume using velcro or elastic.
For added detail, cut small pieces of black felt in the shape of paw pads and sew them onto the paws. This will give your otter costume an extra touch of realism.
Step 5: Adding the Tail
An otter’s tail is long and sleek, so you’ll want to create a tail that matches the body. Cut a long strip of brown fleece fabric and sew it into a tube shape. Stuff the tail lightly and sew it closed. Attach the tail to the back of the costume using velcro or elastic.
For a more realistic look, you can add some darker brown fleece fabric along the edges of the tail to mimic the natural shading of an otter’s tail.
Step 6: Customizing Your Otter Costume
Now that you’ve completed the basic structure of your otter costume, it’s time to add some personal touches. Here are a few ideas to make your costume stand out:
- Add a scarf or bow tie for a stylish look.
- Create a small otter toy that your costume can hold, just like real otters do in the wild.
- Use fabric paint to add more details, like spots or patterns, to the otter’s fur.
The possibilities are endless, so don’t be afraid to get creative and make your otter costume uniquely yours.
Step 7: Fitting and Final Touches
Once your costume is complete, it’s important to try it on and make any necessary adjustments. Check that all the closures are secure and that the costume fits comfortably. If anything feels too tight or loose, now’s the time to fix it.
Finally, give your otter costume a good once-over to ensure all the details are in place. This is your chance to add any last-minute embellishments or fixes before showing off your masterpiece.
DIY Otter Costume for Kids
When creating an otter costume for kids, it’s important to keep safety in mind. Make sure all the materials are non-toxic and that there are no small parts that could pose a choking hazard. You can also simplify the design to make it easier for kids to wear and move around in.
For younger children, consider adding a hood instead of a separate headpiece. This will make the costume easier to put on and take off. You can also use Velcro instead of buttons or zippers for a more secure fit.
Fun Ideas for Kids’ Otter Costumes
Here are a few fun ideas to make your kids’ otter costumes even more special:
- Include a small pouch for holding snacks or treasures.
- Add glow-in-the-dark paint for a magical nighttime effect.
- Make a matching otter backpack for extra storage.
DIY Otter Costume for Adults
Adults can have just as much fun with their otter costumes as kids! When creating an adult-sized costume, you can go all out with the details. Consider adding more intricate patterns to the fur or creating a more elaborate headpiece.
For added comfort, use lightweight materials and ensure the costume allows for easy movement. You can also incorporate functional elements, like pockets or adjustable straps, to make the costume more practical.
Adult Otter Costume Accessories
To complete your adult otter costume, here are some accessories you might want to consider:
- A faux fur scarf or shawl.
- Matching otter-themed jewelry.
- A small tote bag or purse in the shape of an otter.
Conclusion: Unleash Your Inner Otter
Creating a DIY otter costume is a fun and rewarding project that anyone can enjoy. Whether you’re crafting for yourself, your kids, or your pets, this step-by-step guide has shown you how to bring the charm of otters to life. By following these simple instructions, you can create a costume that’s not only adorable but also unique and personalized.
So, what are you waiting for? Grab your materials and start crafting your very own otter costume today! And don’t forget to share your creations with others—after all, otters are known for being social creatures. Who knows, you might just inspire others to join in on the fun!
Table of Contents
- Why DIY Otter Costumes Are Perfect for All Ages
- Materials You’ll Need for Your DIY Otter Costume
- Step 1: Creating the Otter’s Body
- Step 2: Adding the White Belly
- Step 3: Making the Otter’s Head
- Step 4: Creating the Otter’s Paws
- Step 5: Adding the Tail
- Step 6: Customizing Your Otter Costume
- Step 7: Fitting and Final Touches
- DIY Otter Costume for Kids
- DIY Otter Costume for Adults
Remember, crafting is all about having fun and expressing your creativity. So, let your imagination run wild and enjoy the process of creating your very own DIY otter costume!
- Who Is All About Aaron Rodgers Wife Untold Facts Story
- Alert Ramen Noodle Recalls Safety Tips You Need To Know

How To Create A DIY Otter Costume StepbyStep Guide For All Ages
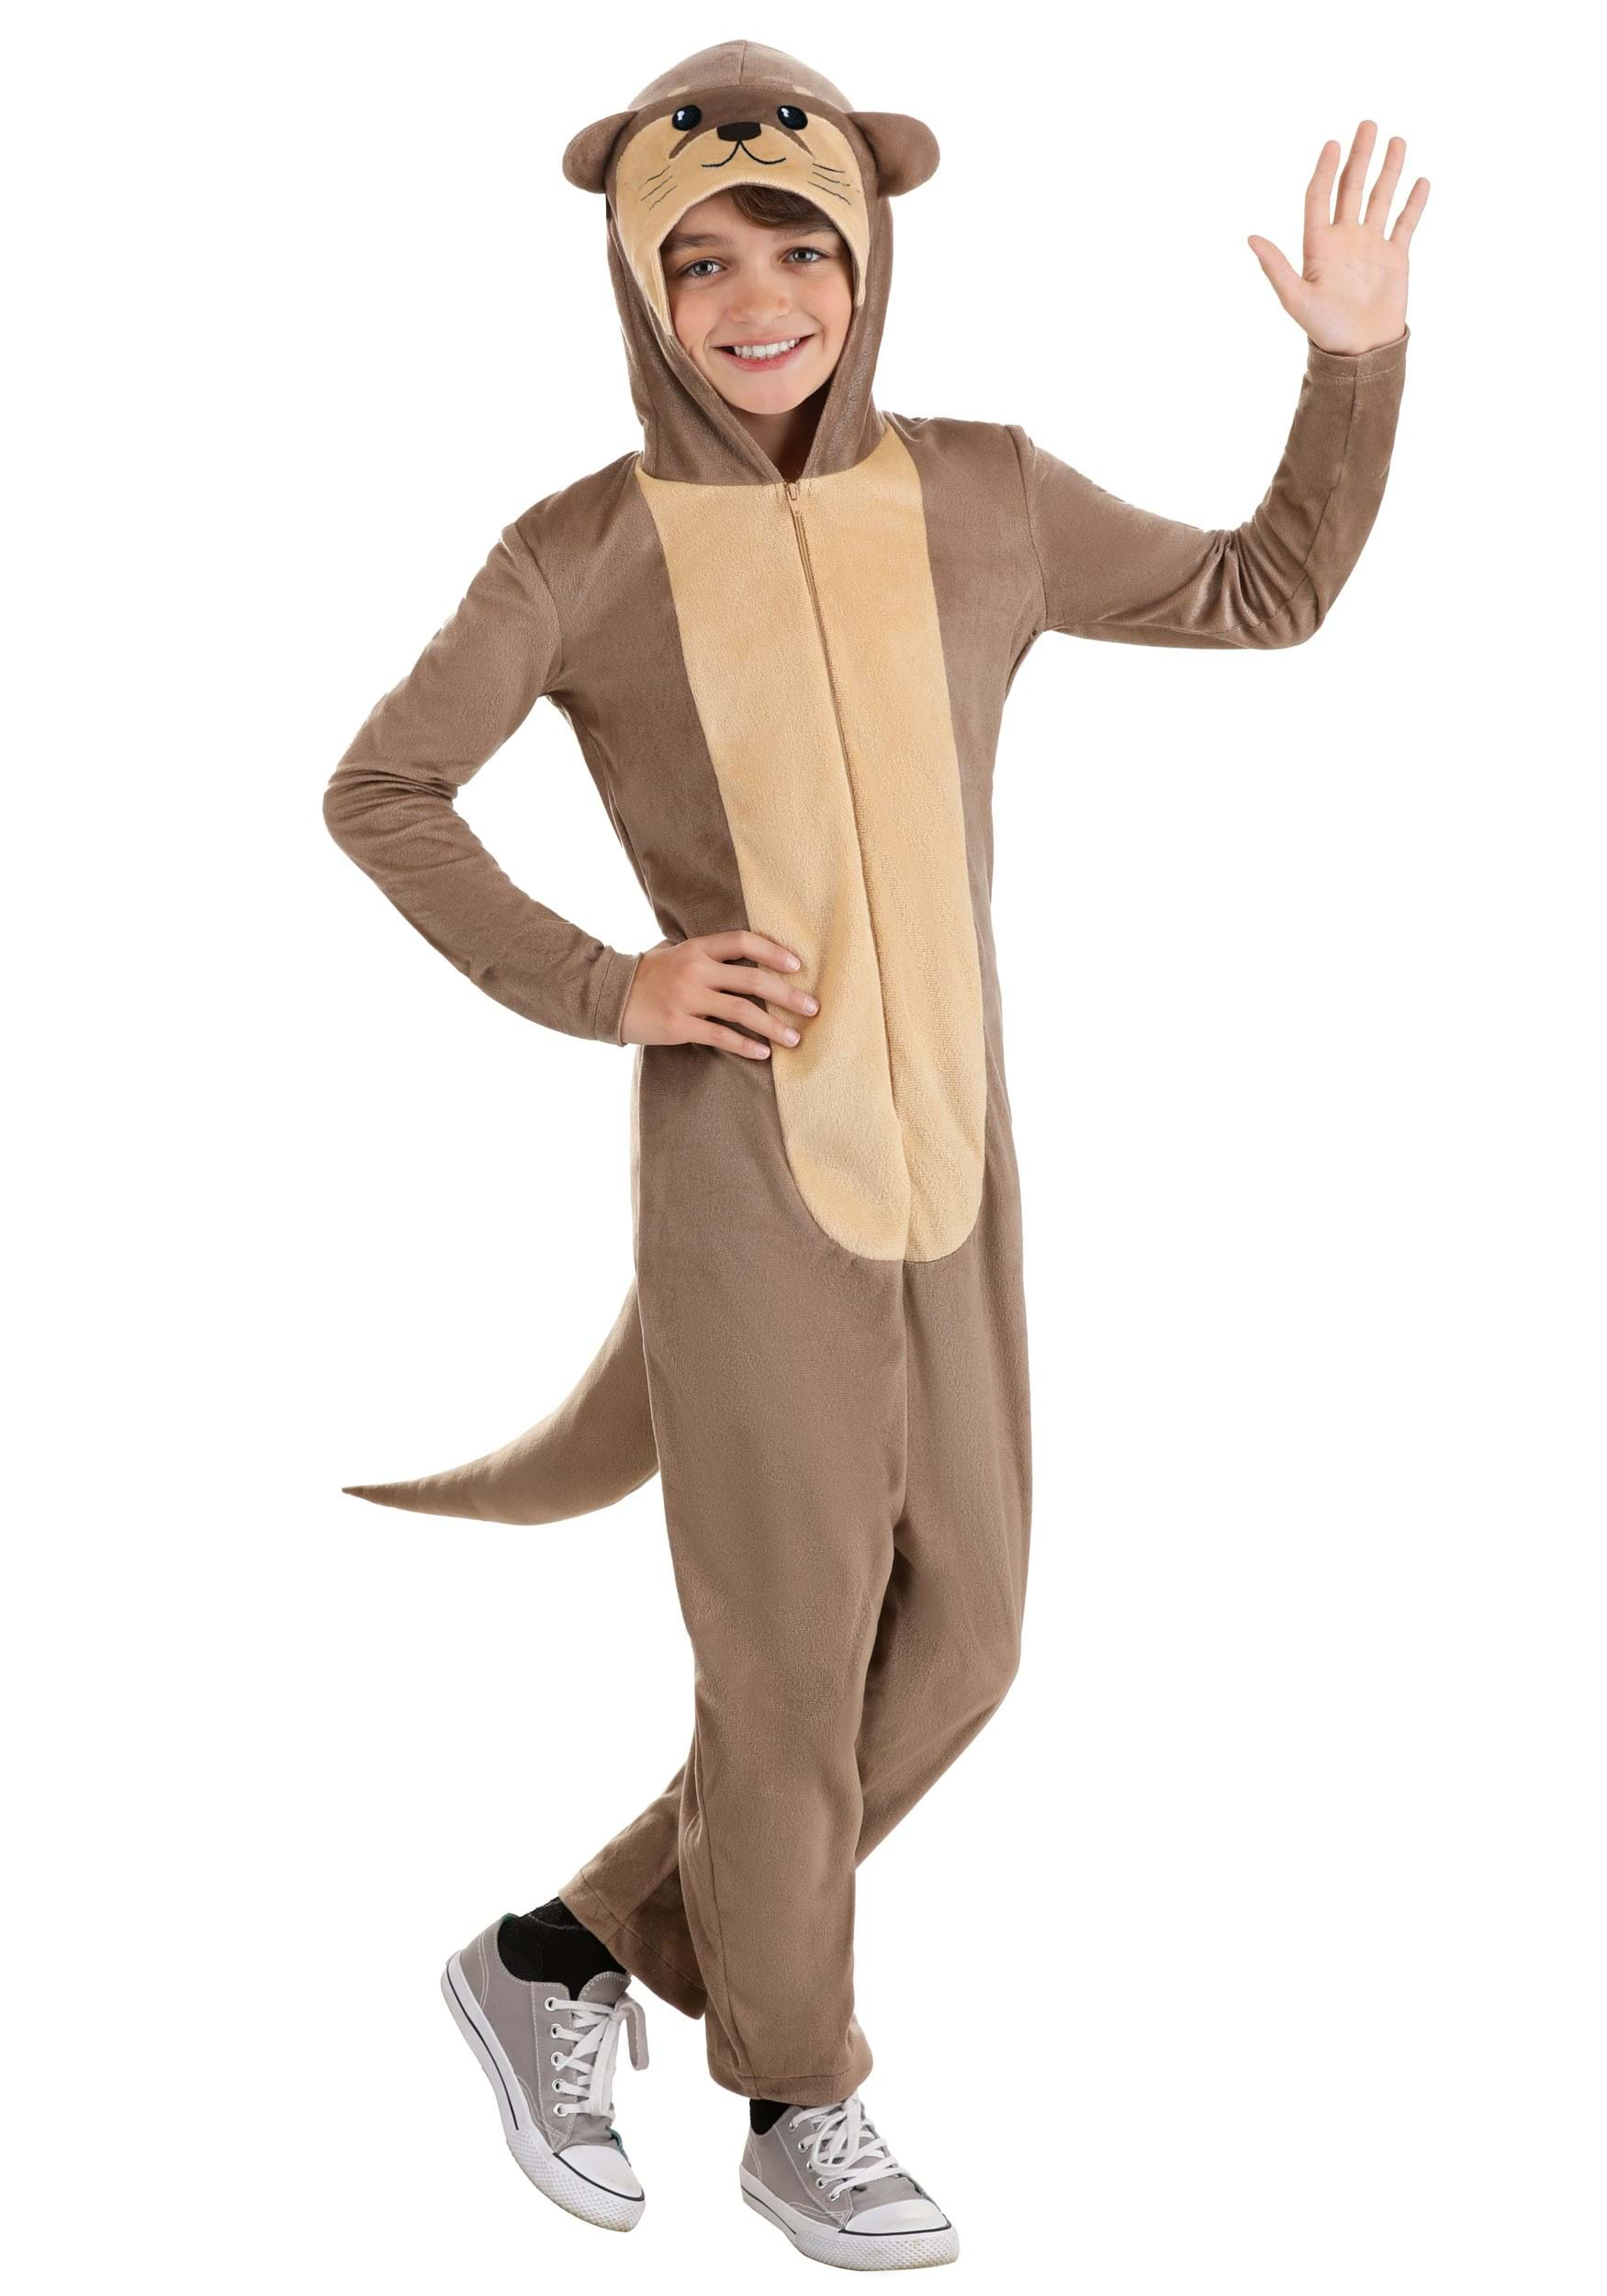
Otter Kid's Costume
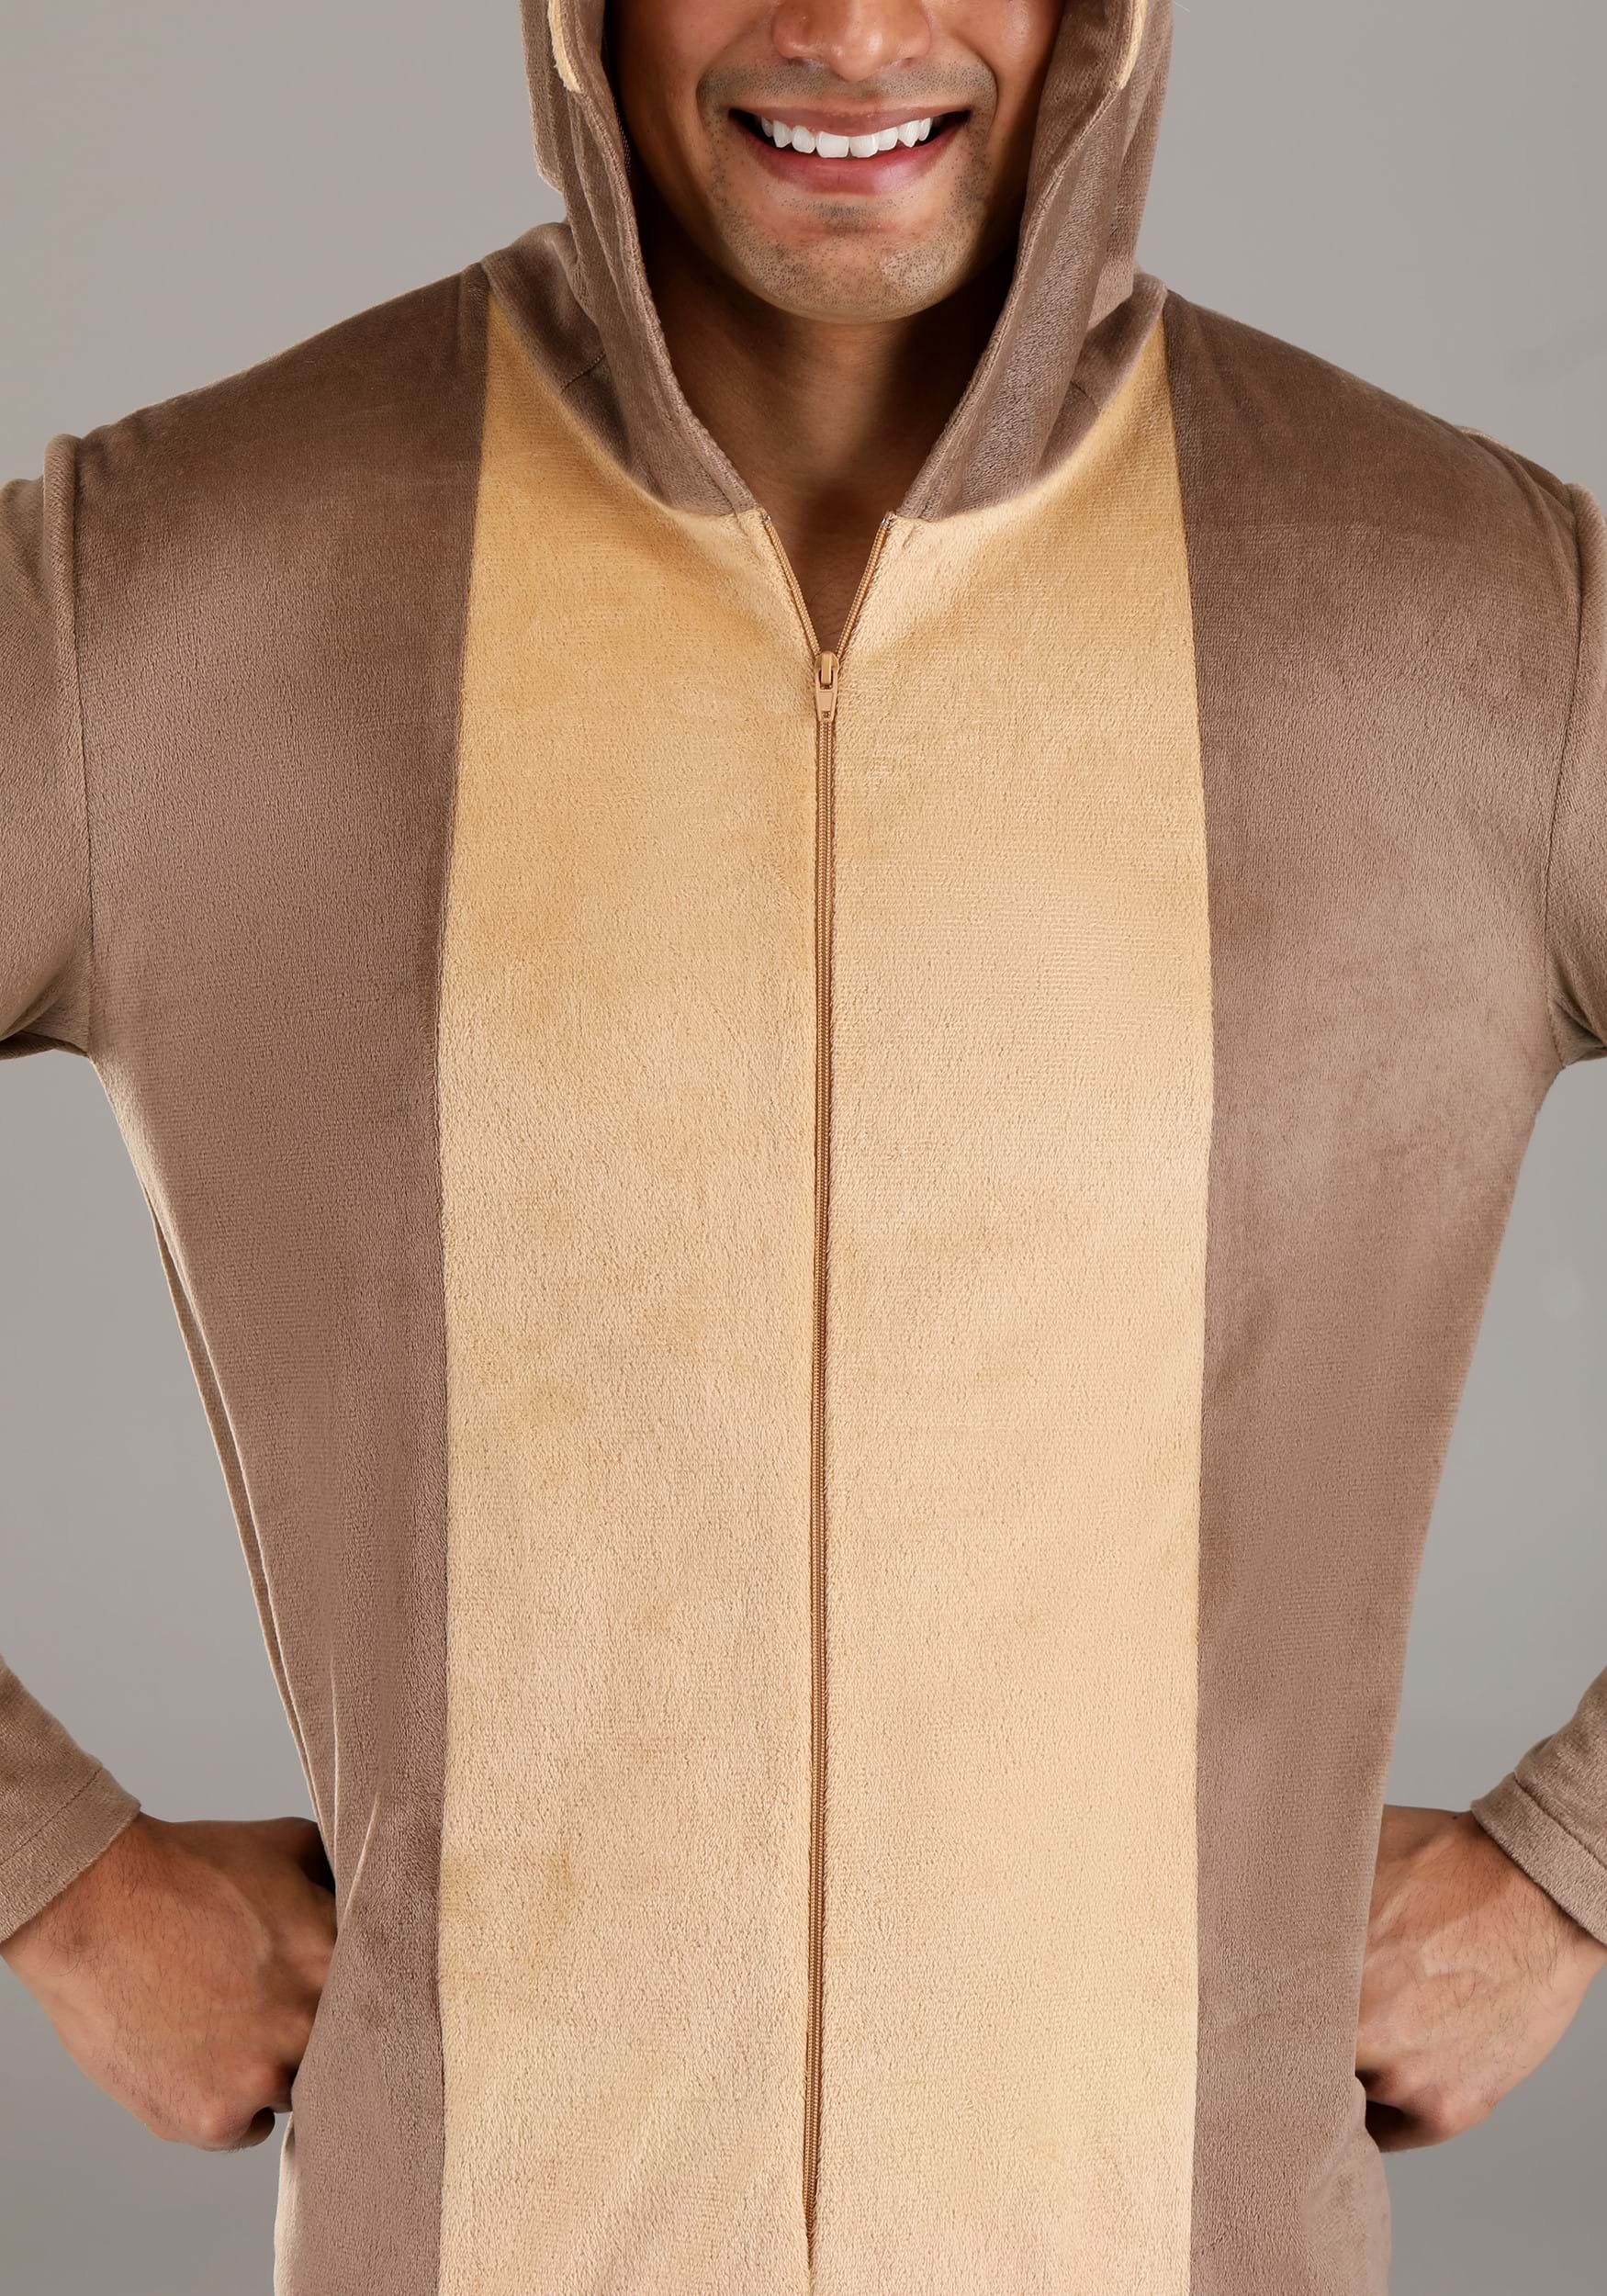
Otter Adult Costume
