How To Create Stunning DIY Flower Bouquets For Bridesmaids: A Complete Guide
Let’s face it, planning a wedding is a massive undertaking, and one of the most beautiful touches you can add is a stunning bouquet for your bridesmaids. But guess what? You don’t have to break the bank to get those dreamy arrangements. DIY flower bouquets for bridesmaids are not only budget-friendly but also an opportunity to get creative and personal. So, if you’re wondering how to create stunning DIY flower bouquets that will leave everyone in awe, you’ve come to the right place.
Creating your own bouquets might seem intimidating at first, but trust me, it’s easier than you think. With a little guidance and the right tools, you can craft bouquets that look like they were made by a professional florist. Plus, it’s a fun activity that you can do with your bridesmaids, turning it into a memorable bonding moment.
In this complete guide, we’ll walk you through everything you need to know about making DIY flower bouquets for bridesmaids. From picking the right flowers to arranging them like a pro, we’ve got you covered. So, grab your scissors, flowers, and let’s dive in!
- Mare Winningham The Untold Story Of The Star You Need To Know
- King Charles Harry Reconciliations Royal Risks And Rewards
Here’s a quick table of contents to help you navigate through this guide:
- Introduction
- Choosing the Right Flowers
- Tools You’ll Need
- Color Schemes for Your Bouquet
- Step-by-Step Guide to Making Your Bouquet
- Adding Greenery and Texture
- Wrapping Your Bouquet Like a Pro
- Common Mistakes to Avoid
- Cost-Saving Tips
- Final Touches for Your DIY Bouquet
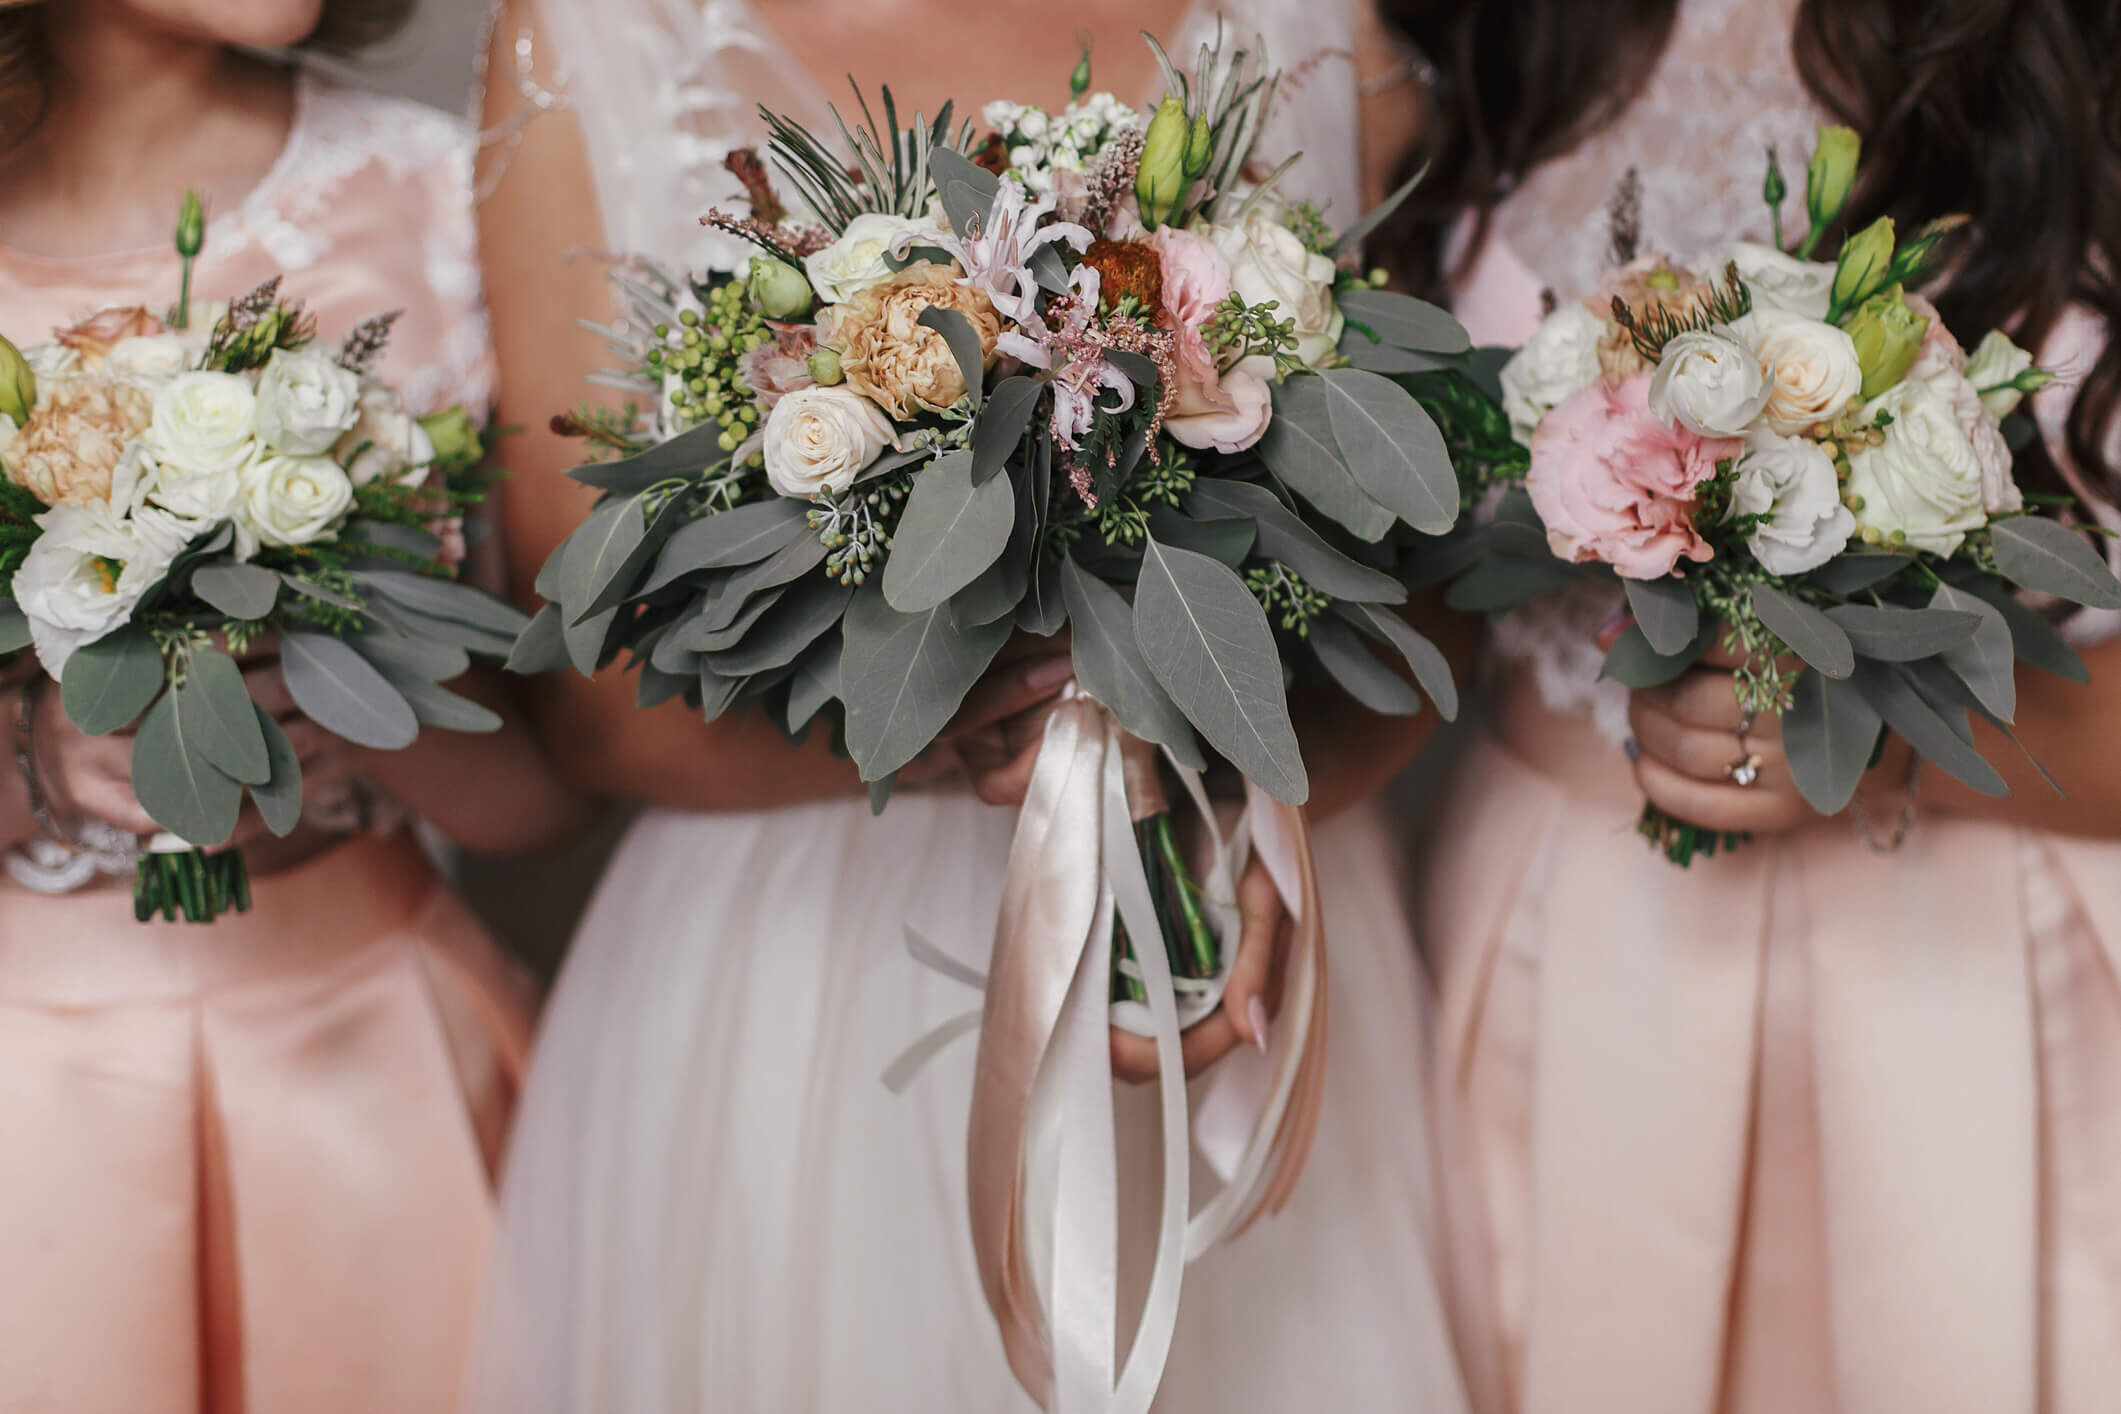
Choosing the Right Flowers
Alright, let’s talk about the heart of your bouquet— the flowers. Selecting the right blooms is crucial if you want your bouquets to be both beautiful and long-lasting. Here’s what you need to consider:
First off, think about the theme and vibe of your wedding. Are you going for something rustic, classic, or modern? The flowers you choose should complement the overall aesthetic. For example, if you’re aiming for a vintage look, peonies and roses are your best bet. But if you want something more contemporary, try incorporating succulents or eucalyptus.
- Is Ramen Virus Real The Truth About Ramen Safety Today
- Lauren Hashian The Untold Story Behind Dwayne The Rocks Wife
Seasonal Flowers
Choosing seasonal flowers not only ensures freshness but also saves you money. Plus, they tend to look healthier and last longer. Here’s a quick breakdown of some popular seasonal flowers:
- Spring: Tulips, daffodils, and cherry blossoms
- Summer: Sunflowers, lilies, and hydrangeas
- Fall: Chrysanthemums, dahlias, and asters
- Winter: Poinsettias, amaryllis, and winter berries
Remember, the fresher the flowers, the better your bouquets will look. So, try to order them as close to the wedding date as possible.
Tools You’ll Need
Now that you’ve got your flowers sorted, let’s talk about the tools you’ll need to assemble your DIY bouquets. Having the right equipment makes all the difference, and here’s what you’ll need:
- Florist Shears: These are essential for cutting stems cleanly without damaging the flowers.
- Floral Tape: This helps hold the stems together while you’re arranging the bouquet.
- Wire Cutters: If you’re using wired stems or adding embellishments, these come in handy.
- Ribbon: Choose a ribbon that matches your theme for wrapping the bouquet handle.
Having these tools on hand will make the process smoother and more efficient. Trust me, trying to cut stems with regular scissors is a recipe for disaster.
Color Schemes for Your Bouquet
Colors play a huge role in the overall look of your bouquets. Whether you’re aiming for a monochromatic palette or a bold mix, here are some tips to help you choose the perfect color scheme:
Monochromatic Magic
If you’re going for a sleek and sophisticated look, a monochromatic color scheme is the way to go. Stick to one color family, like soft pinks or creamy whites, and vary the shades for depth. This creates a cohesive and elegant appearance.
Contrasting Colors
For a bolder statement, try mixing contrasting colors. Think purple and yellow or blue and orange. Just make sure the colors complement each other and don’t clash too much. You can also add greenery to balance out the contrast.
Whatever color scheme you choose, make sure it reflects the personality of your bridesmaids and fits the overall wedding theme.
Step-by-Step Guide to Making Your Bouquet
Now that you’ve got your flowers, tools, and color scheme sorted, it’s time to dive into the actual bouquet-making process. Follow these steps, and you’ll be crafting stunning bouquets in no time:
- Gather Your Materials: Lay out all your flowers, greenery, and tools on a clean surface.
- Start with a Focal Flower: Choose one large flower to be the center of attention. This will be the base of your bouquet.
- Add Secondary Flowers: Surround the focal flower with smaller blooms to add depth and texture.
- Incorporate Greenery: Add leaves or greenery to fill in any gaps and give the bouquet a fuller look.
- Trim the Stems: Make sure all the stems are even in length for a balanced bouquet.
- Wrap the Stems: Use floral tape to secure the stems together, then wrap the handle with ribbon.
Tada! You’ve just created your first DIY bouquet. Practice makes perfect, so don’t be afraid to experiment with different arrangements until you get it just right.
Adding Greenery and Texture
Greenery is the secret weapon in any great bouquet. It adds texture, depth, and a natural element that ties everything together. Here’s how to incorporate greenery into your bouquets:
Start by selecting a few different types of greenery. You might want to include eucalyptus for its long, flowing leaves or ferns for a more delicate touch. Then, weave them into your bouquet, placing them between the flowers to fill in any empty spaces.
Pro tip: Don’t overdo it with the greenery. You want it to enhance the flowers, not overpower them. Aim for a balanced look where the greenery complements the blooms without stealing the spotlight.
Wrapping Your Bouquet Like a Pro
Wrapping your bouquet handle is the final step in creating a polished and professional look. Here’s how to do it:
Start by securing the stems with floral tape. Then, take your ribbon and begin wrapping it around the handle, overlapping slightly as you go. Once you’ve covered the entire handle, tie the ribbon off with a bow or knot at the bottom.
If you want to get fancy, you can add a small embellishment or charm to the ribbon for an extra touch of personality. This is where you can really make the bouquet your own.
Common Mistakes to Avoid
Even the best-laid plans can go awry if you’re not careful. Here are some common mistakes to avoid when creating your DIY bouquets:
- Overloading the Bouquet: Too many flowers and greenery can make the bouquet look cluttered and unbalanced.
- Using Dull Flowers: Always choose fresh, vibrant blooms to ensure your bouquets look their best.
- Ignoring the Theme: Make sure your bouquets fit the overall wedding theme and complement the bridesmaids’ dresses.
By avoiding these pitfalls, you’ll end up with bouquets that are both beautiful and functional.
Cost-Saving Tips
DIY bouquets are already a budget-friendly option, but there are ways to save even more. Here are some tips to help you stretch your wedding budget:
- Buy in Bulk: Purchasing flowers in bulk can significantly reduce costs.
- Use Local Florists: Sometimes, local florists offer better deals than online retailers.
- Choose Inexpensive Flowers: Daisies, carnations, and baby’s breath are all affordable options that look great in bouquets.
With a little creativity and planning, you can create stunning bouquets without breaking the bank.
Final Touches for Your DIY Bouquet
Once you’ve completed your bouquets, take a moment to add those final touches that will make them truly special. Maybe it’s a personalized note tied to the ribbon or a small charm that reflects the bride’s personality. These little details can make a big impact.
And don’t forget to take care of your bouquets before the big day. Keep them in a cool, dark place and mist them with water regularly to ensure they stay fresh and vibrant.
So, there you have it—a complete guide to creating stunning DIY flower bouquets for bridesmaids. With a little effort and creativity, you can craft bouquets that are not only beautiful but also meaningful. Now go out there and make those bouquets happen!
Don’t forget to share this guide with your bridesmaids and leave a comment below if you have any questions or tips of your own. Happy crafting!
- Why Im Sorry I Cant Assist With That And Alternatives
- Alert What You Need To Know About The Fda Ramen Recall Now
How To Create Stunning DIY Flower Bouquets For Bridesmaids A Complete

Easy DIY Flower Bouquets to Make in 4 Simple Steps
:max_bytes(150000):strip_icc()/petite-bouquets-john-shim-0219-2000-3557bbab679e4dd78c25c699bf595947.jpeg)
Wedding Flower For Bridesmaids Best Flower Site
