How To Build Your Own Bookcase: A Step-by-Step DIY Guide That Anyone Can Follow
Building your own bookcase is one of the most rewarding DIY projects you can tackle, and guess what? You don’t need to be a carpentry expert to pull it off. Whether you're a beginner or just someone who loves getting their hands dirty, this step-by-step guide will walk you through the entire process. From choosing the right materials to assembling the final product, we’ve got you covered. So, let’s dive in and turn that empty wall into a masterpiece of storage and style!
Listen up, folks. Building your own bookcase isn’t just about creating functional furniture. It’s about adding a personal touch to your space, whether it’s your living room, bedroom, or even your home office. Imagine walking into a room with a bookcase that YOU made. That’s a confidence boost right there, and trust me, it feels amazing.
But here’s the thing: not everyone knows where to start. That’s why we’re here. This guide isn’t just some random blog post. It’s a comprehensive, step-by-step walkthrough that will take you from zero to hero in the world of DIY bookcase building. So, grab a cup of coffee (or tea, if that’s your thing), and let’s get started.
- Noodle Recall Alert What You Need To Know Safety Tips
- John Goodman The Truth About His Life Career And Rumors Exposed
Why Should You Build Your Own Bookcase?
Okay, so you’re probably wondering, “Why should I build my own bookcase when I can just buy one?” Great question! Let’s break it down for you. Building your own bookcase isn’t just about saving money (although that’s definitely a bonus). It’s about customization, creativity, and the satisfaction of knowing you built something with your own two hands.
- You get to choose the exact size, shape, and design that fits your space.
- No more settling for something that doesn’t quite match your decor.
- It’s a great way to learn new skills and maybe even impress your friends and family.
Plus, let’s be real. Buying furniture can be expensive, and sometimes you end up with something that doesn’t last as long as you’d hoped. When you build your own bookcase, you have control over the quality of materials and craftsmanship. That’s a win-win if you ask me.
What You’ll Need to Get Started
Before we jump into the nitty-gritty, let’s talk about what you’ll need. Don’t worry, it’s not as complicated as it sounds. Here’s a quick rundown of the tools and materials you’ll need to build your own bookcase:
- Why Do Influencers Go Wild Future Trends Explored
- Alert Ramen Noodle Recalls Safety Tips You Need To Know
Tools You’ll Need
- Measuring tape
- Circular saw or hand saw
- Drill
- Screwdriver
- Sandpaper or sanding block
- Level
- Clamps
These tools might sound intimidating, but trust me, they’re easier to use than you think. If you’re new to DIY projects, don’t worry. We’ll walk you through everything step by step.
Materials You’ll Need
- Plywood or MDF boards (depending on your preference)
- Wood screws
- Wood glue
- Paint or stain (optional)
- Varnish or sealant (optional)
Choosing the right materials is key to making sure your bookcase lasts. We’ll talk more about that in the next section, but for now, just know that you’ve got options. Whether you want a sleek modern look or something more rustic, the choice is yours.
Picking the Perfect Materials
Now, let’s talk about materials. This is where the fun begins! When you’re building your own bookcase, you have the freedom to choose exactly what you want. Here’s a quick breakdown of the most popular materials and why you might choose them:
Plywood vs. MDF: What’s the Difference?
Plywood and MDF (medium-density fiberboard) are two of the most common materials used for DIY bookcases. But what’s the difference, and which one should you choose?
- Plywood is strong and durable, making it a great choice for heavy-duty bookcases. It also has a natural wood grain that looks awesome when stained.
- MDF is smoother and easier to paint, which makes it perfect for modern or minimalist designs. However, it’s not as strong as plywood, so it might not be the best choice if you’re planning to store a lot of heavy books.
Ultimately, the choice comes down to your personal preference and the look you’re going for. Both materials are great options, so don’t stress too much about it.
Designing Your Bookcase
Alright, so you’ve got your tools and materials. Now it’s time to design your bookcase. This is where you get to let your creativity shine. Think about the space where you’ll be placing your bookcase. How much room do you have? What kind of books or items do you want to store? These are all important questions to consider.
Deciding on Size and Shape
Size matters (yes, I went there). When designing your bookcase, think about the dimensions that will work best for your space. Here are a few tips to help you decide:
- Measure the wall or area where you plan to place the bookcase.
- Decide how tall and wide you want it to be. Remember, taller bookcases can add a sense of grandeur to a room, while shorter ones are great for smaller spaces.
- Consider the depth. Do you need extra space for larger items, or will it mostly be used for books?
And don’t forget about the shape! You can go for a classic rectangular design, or get creative with something more unique. The world is your oyster, my friend.
Cutting Your Materials
Now that you’ve designed your bookcase, it’s time to cut your materials. This is where your circular saw or hand saw comes in handy. Don’t worry if you’ve never used one before. It’s easier than it looks, and with a little practice, you’ll be cutting like a pro in no time.
Safety First
Before we dive into the cutting process, let’s talk about safety. This is super important, so pay attention:
- Wear safety goggles to protect your eyes from sawdust.
- Use clamps to hold your materials in place while cutting.
- Take your time. Rushing can lead to mistakes, and nobody wants that.
Once you’ve got your safety gear on, it’s time to make those cuts. Follow your measurements carefully, and double-check everything before you start sawing. Trust me, it’ll save you a lot of headaches later on.
Assembling Your Bookcase
Alright, we’re getting into the meat of the project now. Assembly is where the magic happens. This is where all your hard work starts to come together. Here’s how you do it:
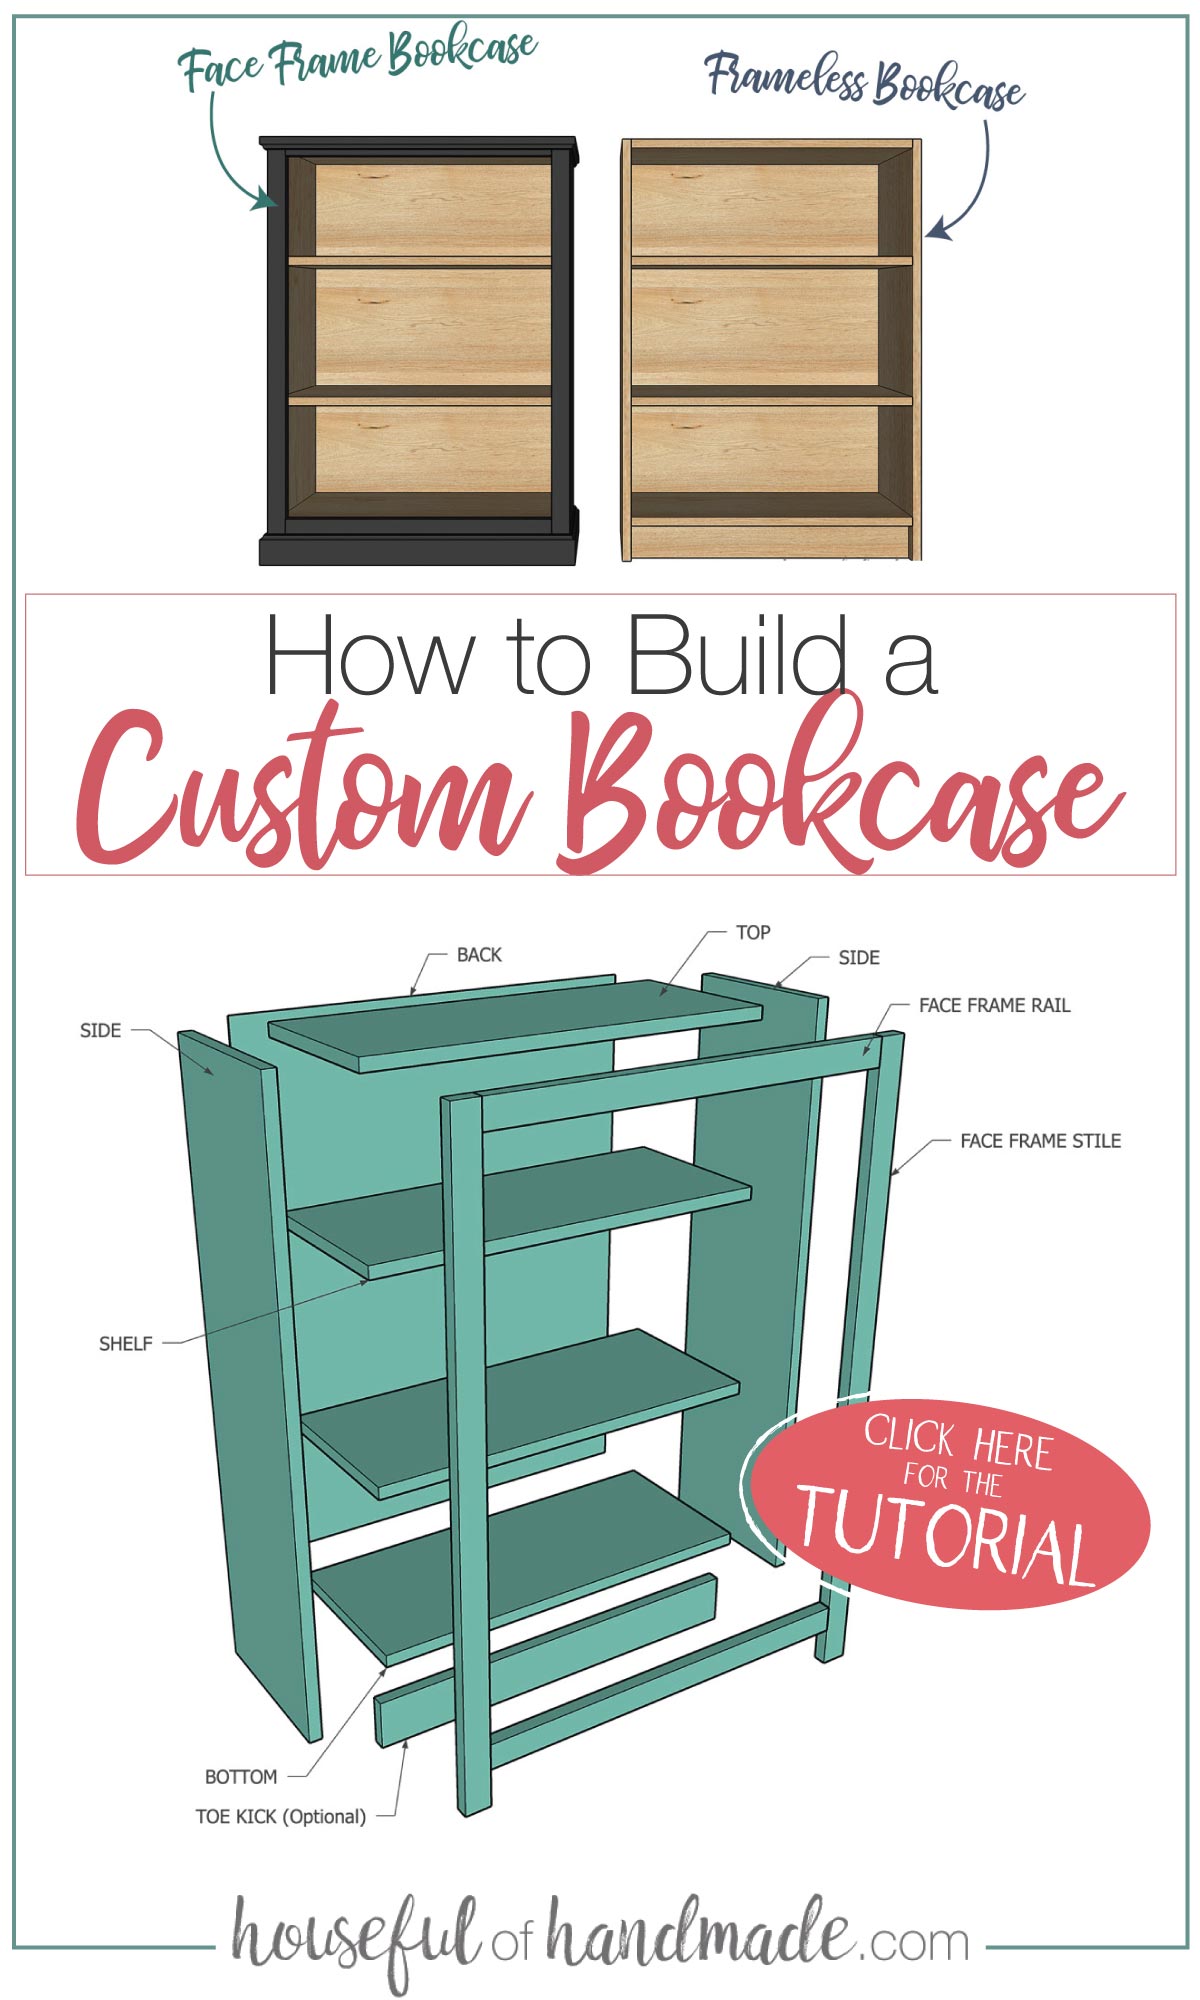
Step 1: Attach the Sides
Start by attaching the sides of your bookcase. Use wood glue and screws to secure them in place. Make sure everything is level and square before moving on to the next step.
Step 2: Add the Shelves
Next, it’s time to add the shelves. Again, use wood glue and screws to attach them to the sides. Make sure they’re evenly spaced and level. This is where your level tool comes in handy.
Step 3: Reinforce the Structure
Once all the shelves are in place, reinforce the structure by adding braces or brackets. This will help ensure your bookcase is sturdy and can handle the weight of your books and other items.
And just like that, your bookcase is starting to take shape. But we’re not done yet, folks. There’s still one more step to go.
Finishing Touches
Now that your bookcase is assembled, it’s time to add the finishing touches. This is where you can really make it your own. Here’s what you need to do:
Sanding and Smoothing
Start by sanding down any rough edges or surfaces. This will make your bookcase look and feel smoother. Use a fine-grit sandpaper or sanding block for the best results.
Painting or Staining
Next, decide if you want to paint or stain your bookcase. This is entirely up to you and your personal style. If you’re going for a natural wood look, a simple stain might be all you need. If you want something more vibrant, go for paint.
Sealing the Deal
Finally, apply a varnish or sealant to protect your bookcase from wear and tear. This will help it last longer and look great for years to come.
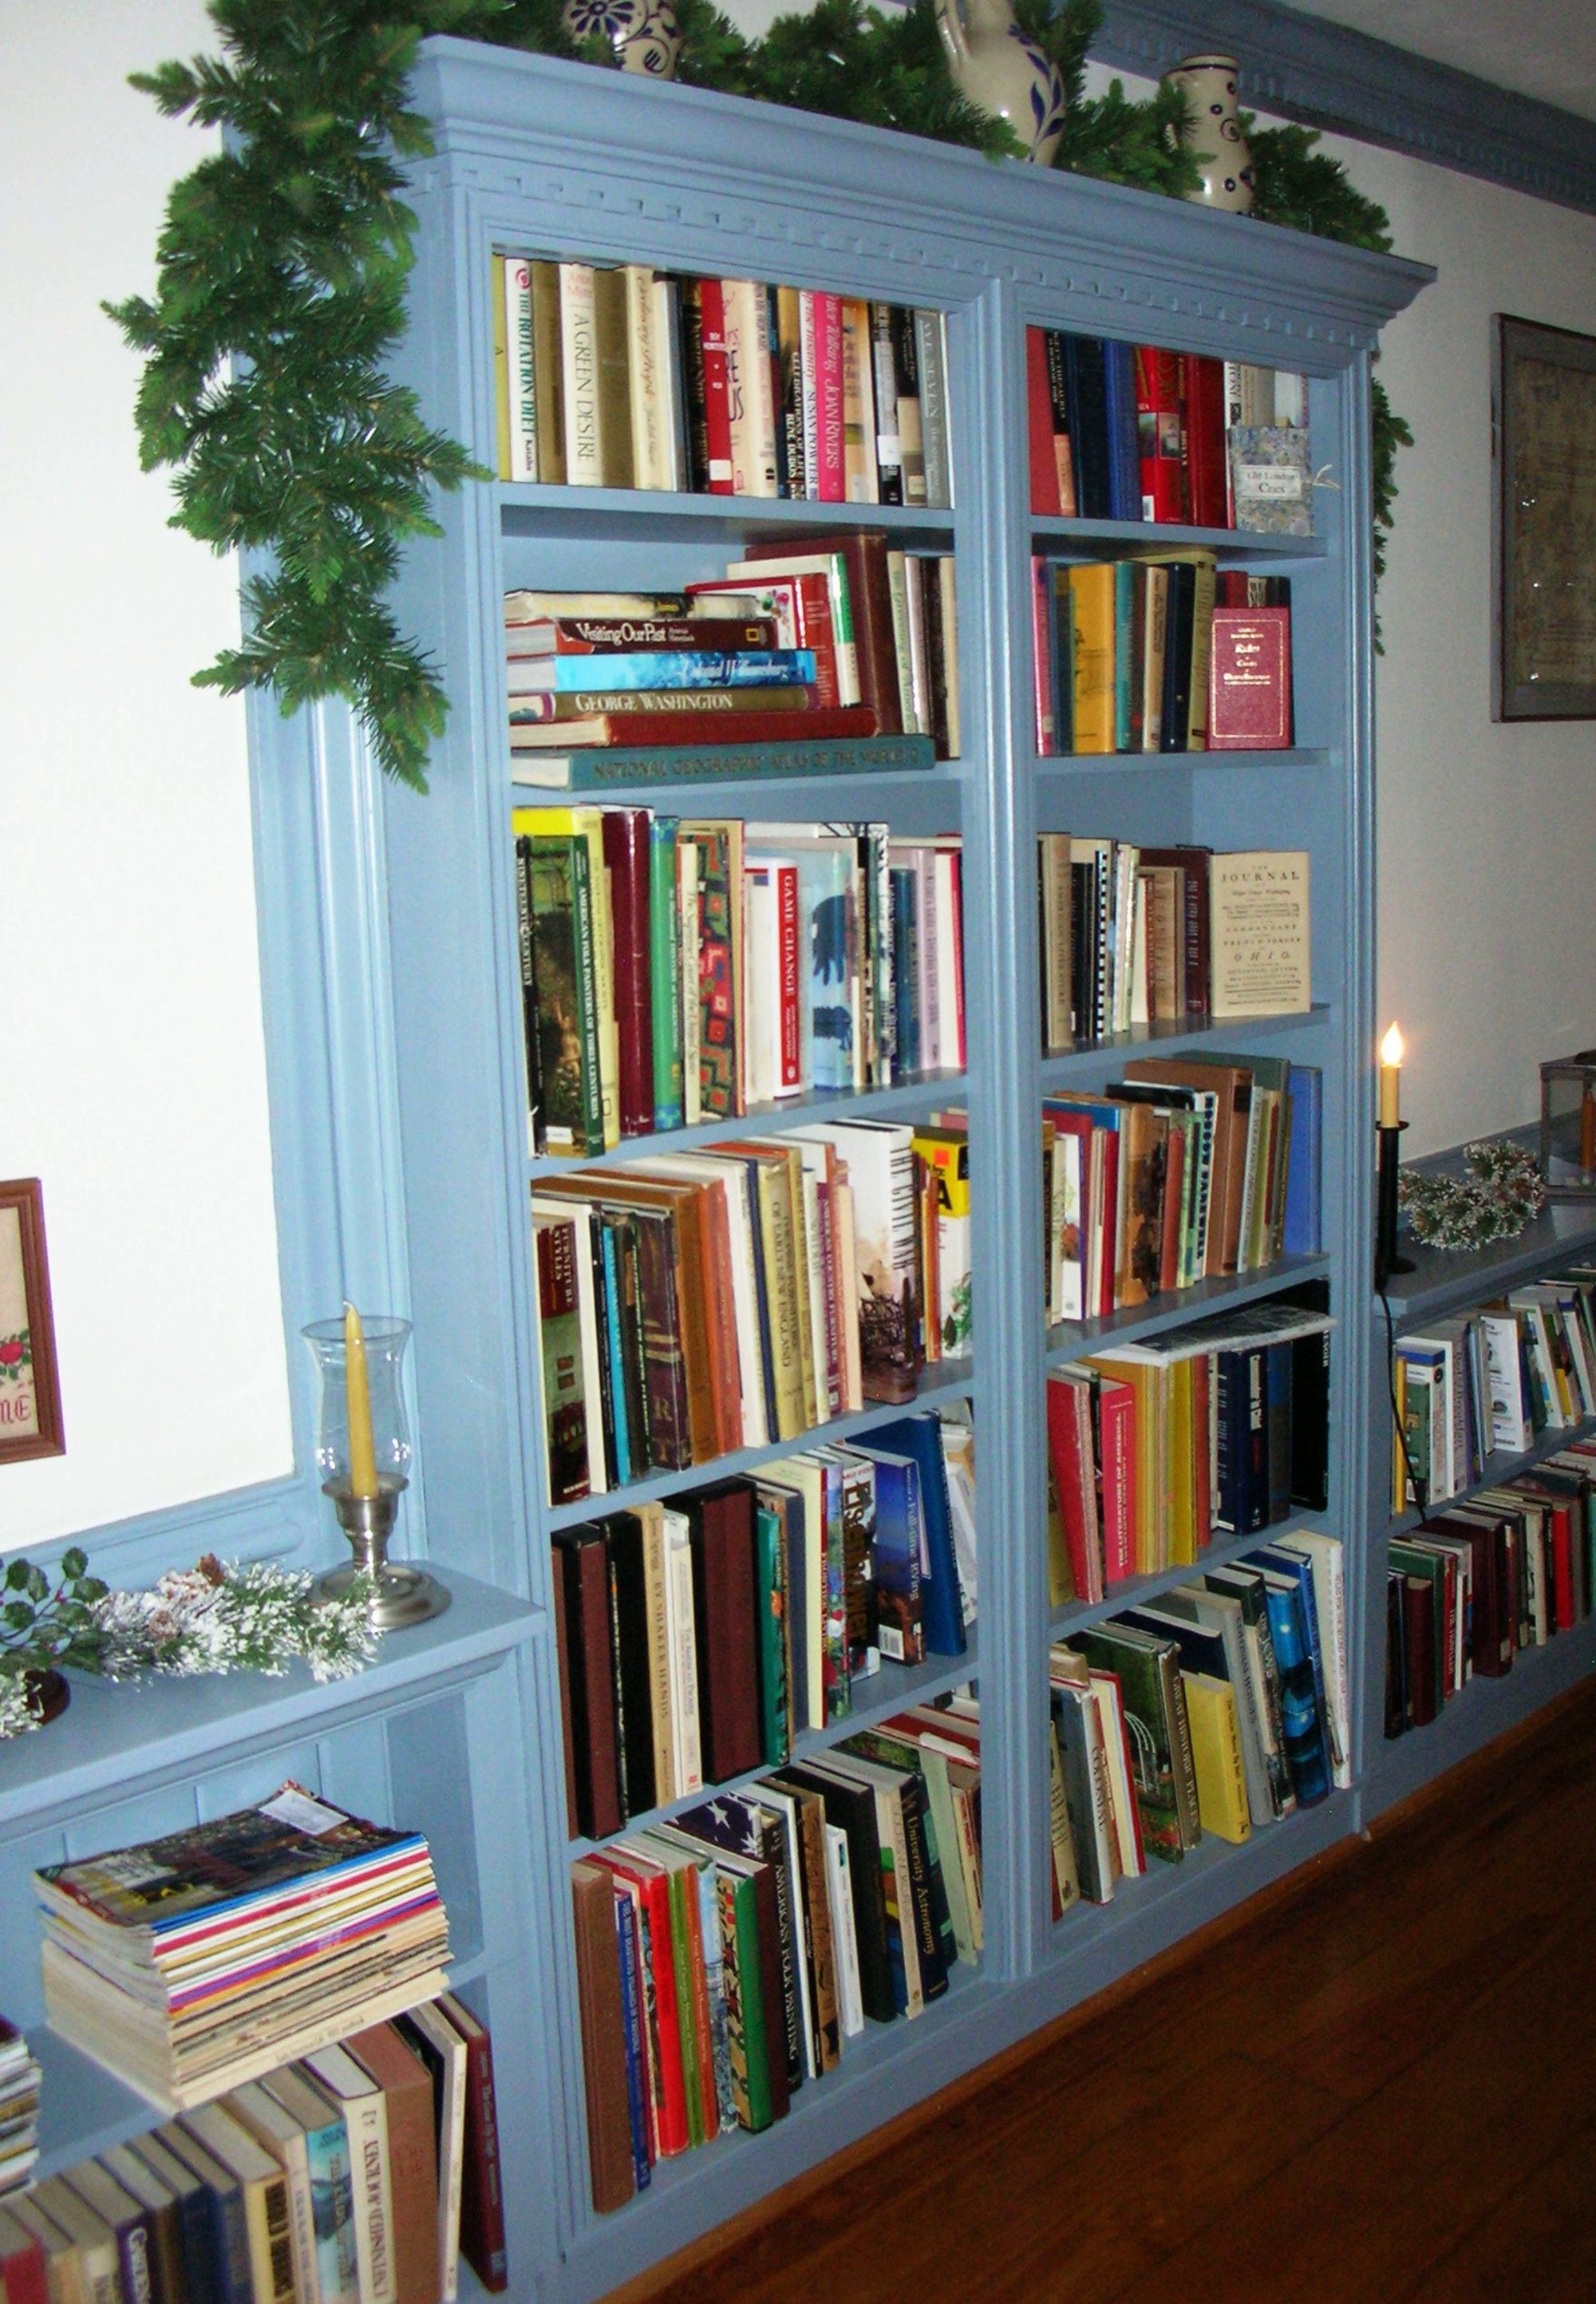
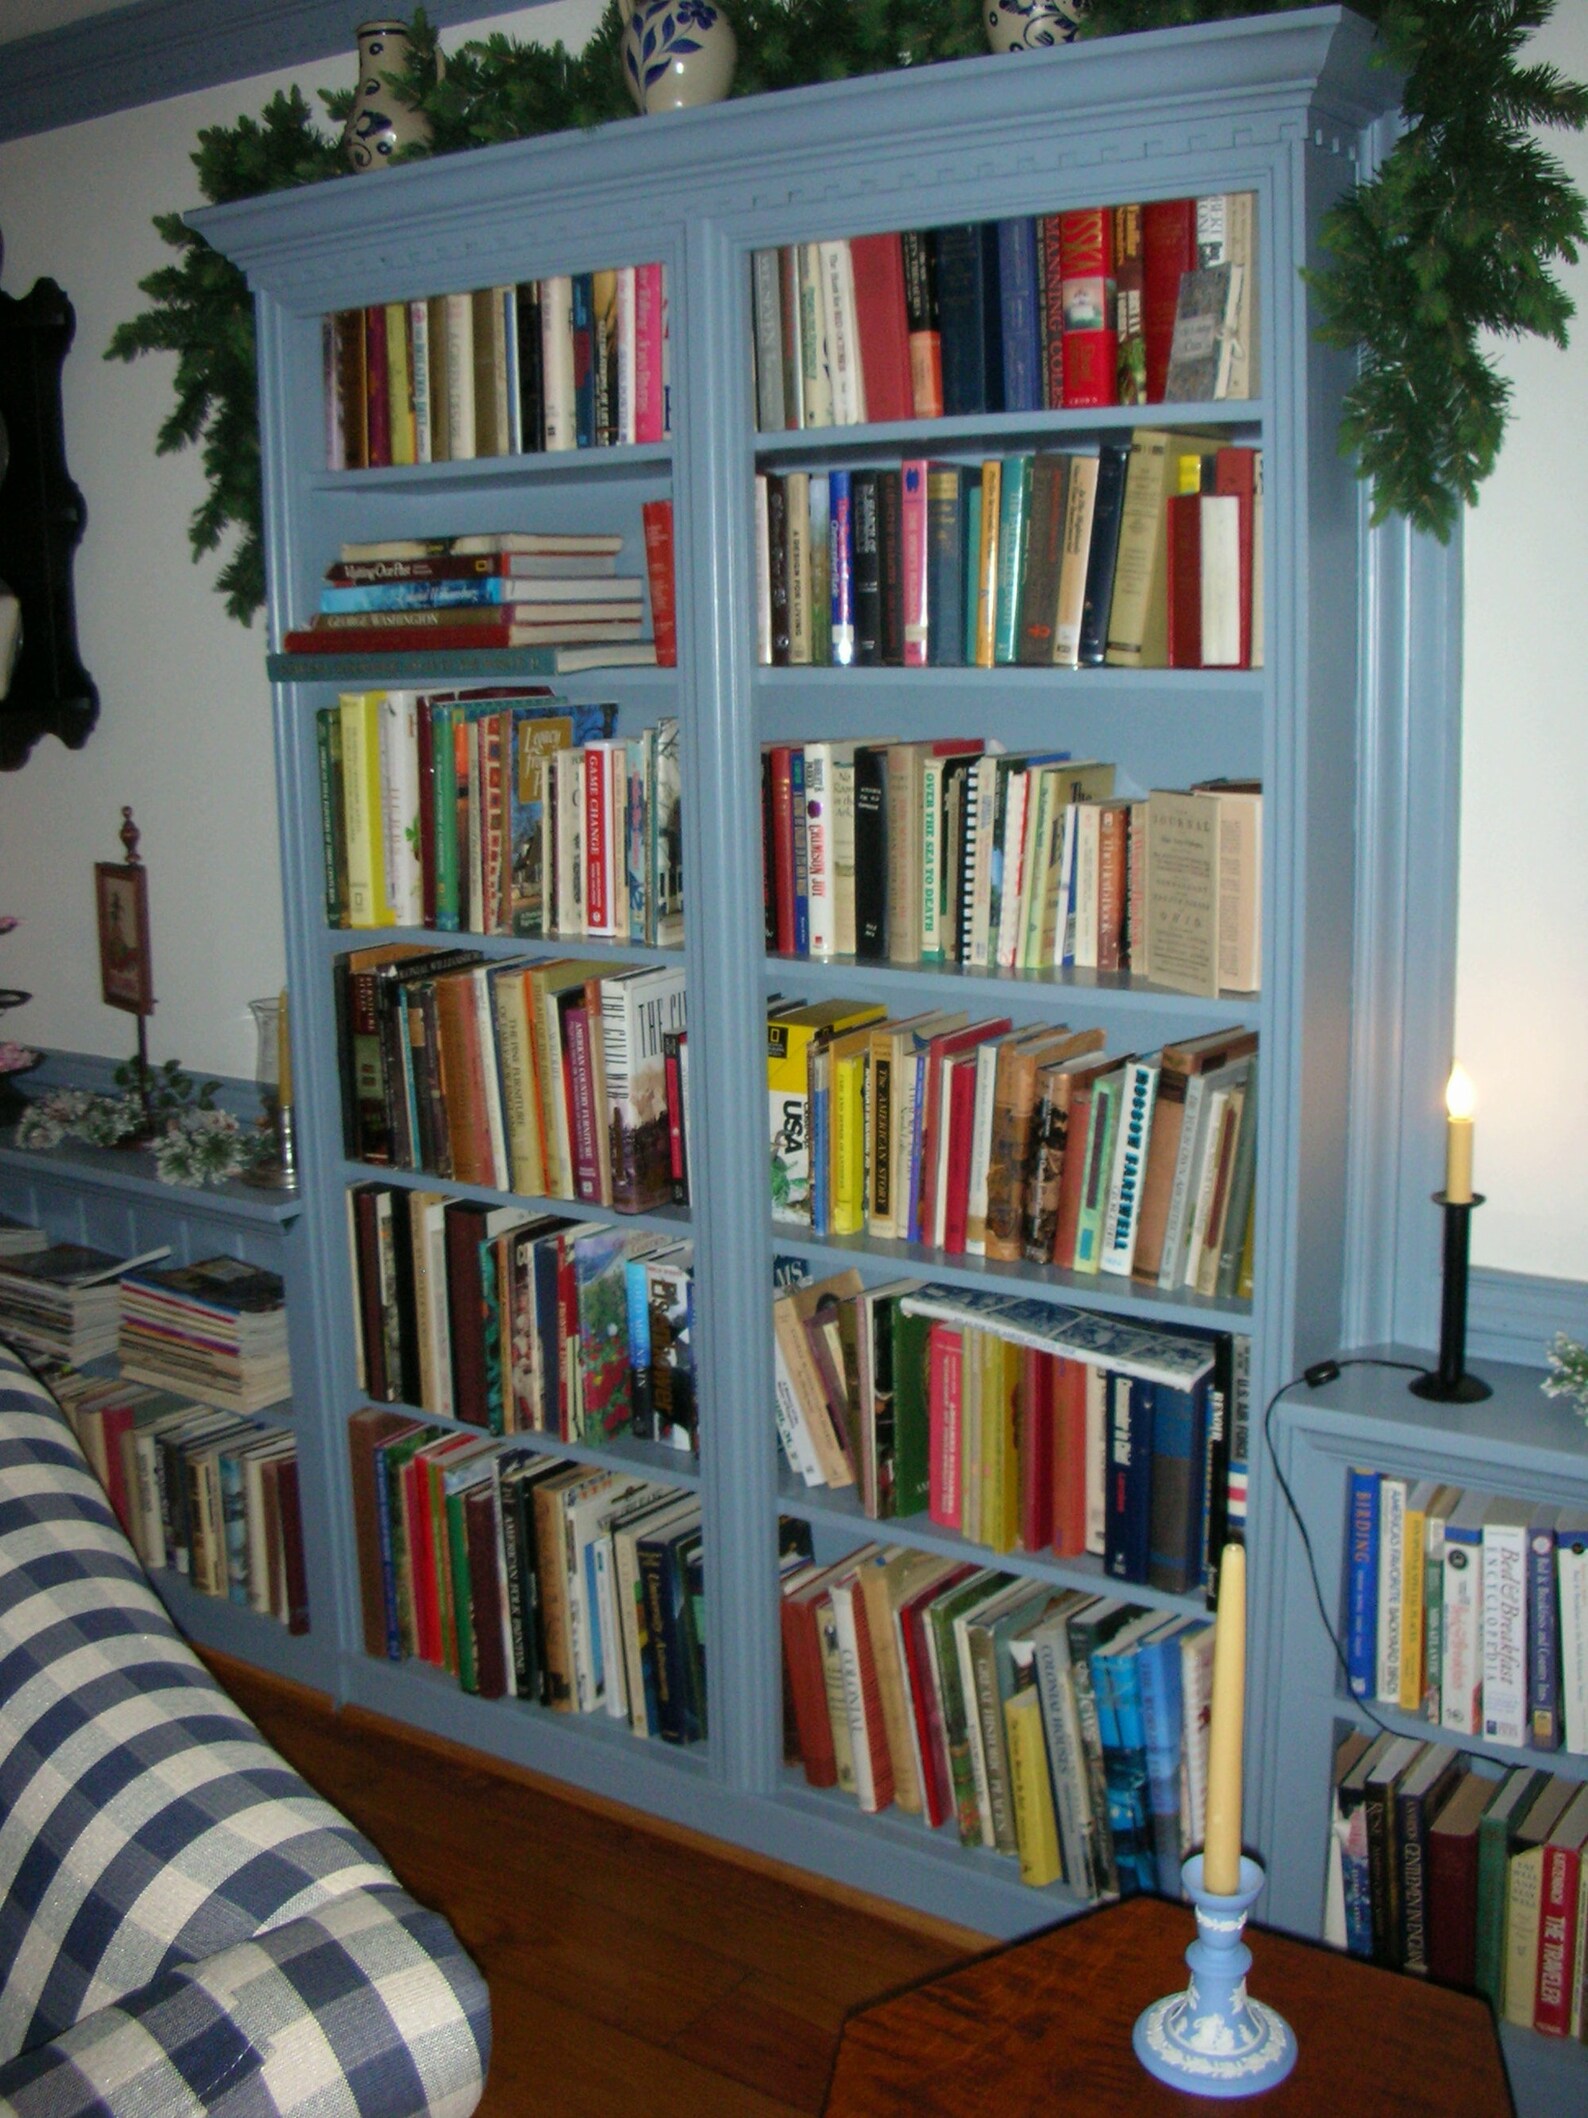
Congratulations! You’ve just built your very own bookcase. Give yourself a pat on the back, because that’s no small feat.
Tips and Tricks for a Successful Build
Building your own bookcase is a rewarding experience, but it’s not without its challenges. Here are a few tips and tricks to help you succeed:
Measure Twice, Cut Once
This old carpentry adage is true for a reason. Always double-check your measurements before making any cuts. It’ll save you time and materials in the long run.
Take Breaks
DIY projects can be physically demanding, so don’t forget to take breaks. Stretch your muscles, hydrate, and give yourself a mental break every now and then.
Ask for Help
Don’t be afraid to ask for help if you need it. Whether it’s a friend, family member, or even a neighbor, having an extra set of hands can make a big difference.
And remember, mistakes happen. It’s all part of the learning process. Don’t beat yourself up if something doesn’t go exactly as planned. Just keep going, and you’ll get there.
Common Mistakes to Avoid
While building your own bookcase is a lot of fun, there are a few common mistakes that can trip you up. Here’s what to watch out for:
Not Planning Ahead
One of the biggest mistakes people make is not planning ahead. Take the time to think through your design and measurements before you start cutting. It’ll save you a lot of headaches later on.
Using Low-Quality Materials
Cheap materials might seem like a good idea at first, but they can lead to problems down the road. Invest in quality materials that will last. Trust me, your future self will thank you.
Forgetting the Finishing Touches
Don’t skip the finishing touches! Sanding, painting, and sealing your bookcase are important steps that can make a big difference in the final product.
By avoiding these common mistakes, you’ll be well on your way to building a bookcase that you’ll be proud of.
Conclusion: Time to Build Your Dream Bookcase
Building your own bookcase is a project that anyone can tackle with the right guidance and tools. From choosing the perfect materials to adding those finishing touches, every step of the process is an opportunity to create something truly unique. Remember, it’s not just about building furniture—it’s about creating a piece of art that reflects your personality and style.
So, what are you waiting for? Grab your tools, gather your materials, and get to work. And when you’re done, don’t forget to show off your masterpiece. Share it with your friends, family, and even on social media. Who knows? You might just inspire someone else to take on their own DIY project.
And if you found this guide helpful, be sure to check out our other articles for more DIY tips and tricks. Happy building!
Table of Contents
Why Should You Build Your Own Bookcase?
What You’ll Need to Get Started
Plywood vs. MDF: What’s the Difference?
- The Alarming Truth What Is Ramen Noodle Death And How To Avoid It
- Unlocking 5starsstockscom Your Guide To Smarter Investing Today
How To Build Your Own Bookcase A StepbyStep DIY Guide
How To Build Your Own Bookcase A StepbyStep DIY Guide
Build Your Own Bookcase Pattern DIY Any Size Custom Bookshelf Etsy
